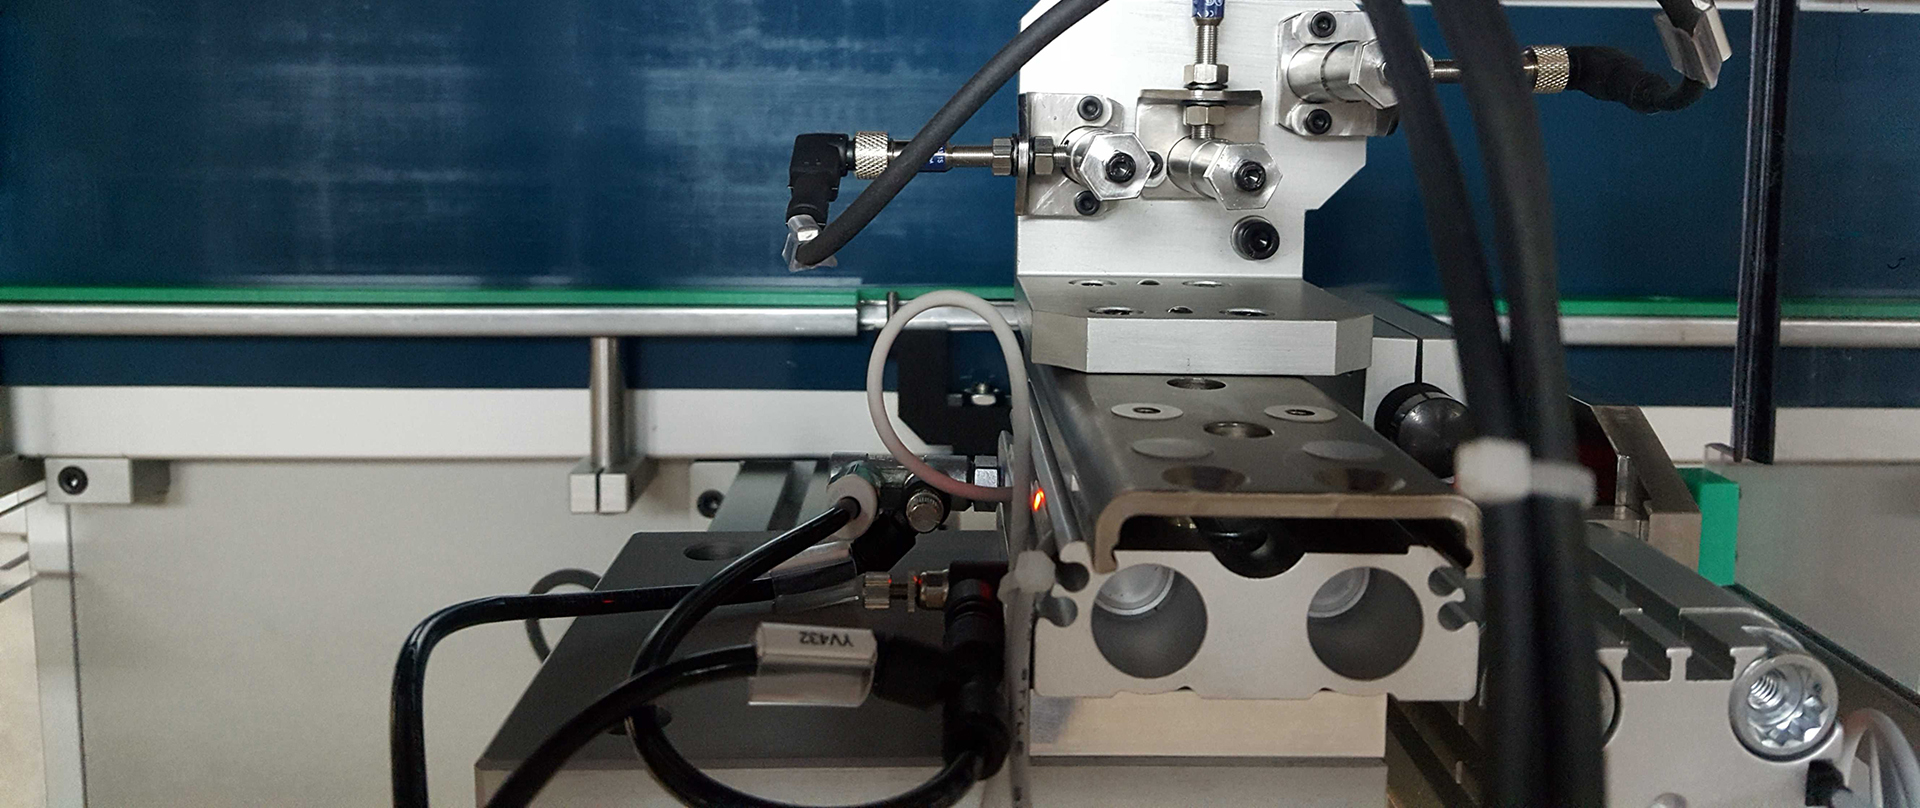
These are some examples of our manual and semi-automatic equipment for the mechanical verification of components developed to customer specifications, which can be used both in production and in quality laboratories or product research.

Manual and semi-automatic Mechanical tools
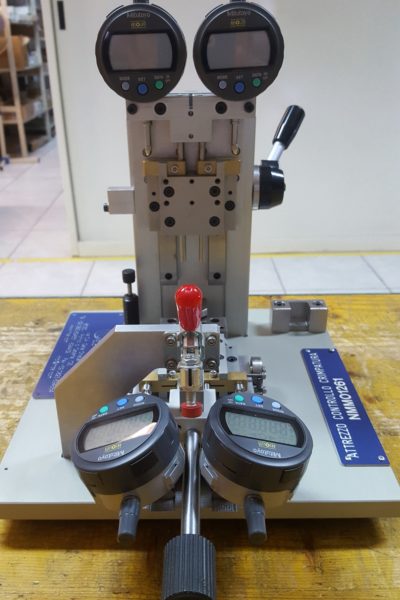
MANUAL CRIMP CHECKING
Developed for the laboratory verification of sub-assemblies for the production of low-voltage circuit breakers, the tool checks the horizontal and vertical symmetry of crimped parts using four dial gauges moved by a manual travel system.


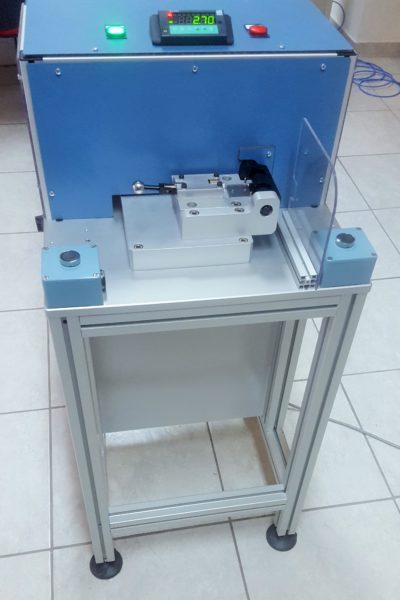
RIVETING TIGHTNESS CONTROL TOOL
The riveting tightness control tool is a semi-automatic equipment designed to test the mechanical tightness of the riveting of a component (so-called ax) of a sub-assembly (entretoise tiroir) intended for use on circuit breakers.
The test verifies the breaking point of the ‘axe entretoise’ by applying and measuring a torque force on it until the coupling breaks.
The piece is loaded manually by the operator in the special housing and the test is started by simply pressing the cycle start button. A motor rotates the component with increasing torque, measured by a special torque meter, until the riveting breaks. If the peak torque value is lower than the set limit, a red light indicates that the piece is defective.
The torque can be parameterized using the tool control panel.
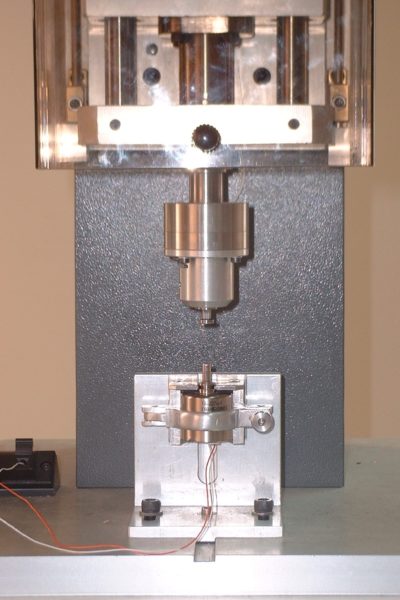
ERGOMETER FOR THE VERIFICATION OF TRIPPING DEVICES
The machine allows the control of the force and of the actuation stroke of a tripping device for switches consisting of a spring-stressed pad.
The system measures the force in the reset and tripping phases and the actuation stroke and the acquired data are processed by a supervisor PC, which generates the force / displacement curve and compares it with the sample limit curves parameterized previously to determine its acceptability
The resolution of the actuation system is 0.01mm with an accuracy of 0.5%, while the force measurement system has a resolution of 0.01daN and an accuracy of 0.5%.
The ergometer is equipped with an auto-calibration function with the help of dimension reference standards, a way to always ensure the accuracy of measurements.

